

- Complies with IEEE 802.11ac/a/b/g/n standards.
- Up to 633Mbps data rate for Wi-Fi network.
- MU-MIMO technology upgrades your PC/Laptop to enjoy faster Wi-Fi.
- Operates on either 2.4GHz or 5GHz band.
- Supports 5G band with less contention interference, more stable and better performance.
- Supports 64/128-bit WEP, WPA/WPA2 and WPA-PSK/WPA2-PSK encryption.
- Universal USB2.0 interface for high compatibility.
- Supports Windows 10/8/7/ XP/Vista (32/64-bit).
- Easy to install and configure.
| Hardware | |
|---|---|
| Interface | - USB 2.0 |
LED Indicator |
- 1 *Wireless |
| Antenna | - 1 * 5dBi fixed antenna |
| Dimensions (L x W x H) | - 58 x 18 x 18mm (not including antennas) |
Wireless | |
| Standards |
- IEEE 802.11ac - IEEE 802.11a - IEEE 802.11b - IEEE 802.11g - IEEE 802.11n |
RF Frequency |
- 2.4GHz/5GHz |
| Data Rate |
- 2.4GHz: Up to 200Mbps - 5GHz: Up to 433Mbps |
EIRP |
- 2.4GHz < 20dBm |
| - 5GHz < 20dBm | |
| Wireless Security | - 64/128-bit WEP, WPA/WPA2, WPA-PSK/WPA2-PSK (TKIP/AES) |
| Reception Sensitivity |
- 2.4G:11b 11M:-81dBm@8% PER 11g 54M:-68dBm@10% PER 11n HT20 MCS7:-65dBm@10% PER HT40 MCS7:-62dBm@10% PER - 5G: 11a 54M:-68dBm@10% PER 11n HT20 MCS7:-65dBm@10% PER HT40 MCS7:-62dBm@10% PER 11ac VHT80 MCS9:-51dBm@10% PER |
| Others | |
| Package Contents |
- A650UA Wireless Adapter *1 - Quick Installation Guide *1 |
| System Requirement | - Windows 10 (32/64bits), Windows 8 (32/64bits), Windows 7 (32/64bits), Windows XP (32/64bits) |
| Environment |
- Operating Temperature: 0℃~50℃ (32 ℉~122℉) - Storage Temperature: -40℃~70 ℃ (-40 ℉~158℉) - Operating Humidity: 10%~90% non-condensing - Storage Humidity: 5%~90% non-condensing |
It is suitable for: A650UA |
Diagram

Set up steps
STEP-1: Guide for Hardware Version
For most TOTOLINK adapter, you can see a bar coded stickers at the front of the device, the character string started with Model No.(for example A650UA) and ended with Hardware Version (for example V1.0) is the serial number of your device. See below:

STEP-2:
After hardware installation, you will see below window showing
automatically. Click Run RTLautoInstallSetup.exe.
Note: if the window not pop up, please refer to FAQ 1.

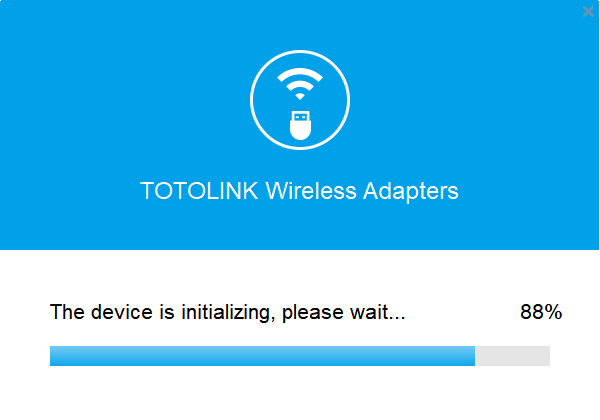
STEP-3: Wait for a few seconds.The window will close up when the initialization complete .

STEP-5: Click icon on the bottom right of the computer desktop.Choose your Wireless network name,click Connect automatically and then Connect.

FAQ Common problem
1. What to do if the auto run CD Drive window not pop up? Please go to Computer/This PC and double-click CD Drive disk, see below:

2. How to put the antenna of A650UA to get best Wi-Fi signal? In order to get best Wi-Fi in your house, we suggest you to keep the antenna. perpendicular to the horizontal plane.

It is suitable for: All TOTOLINK adapters |
Diagram

Preparation
l Before downloading files. please confirm the hardware version ofyour device and choose the corresponiding driver version
Set up steps
STEP-1: Guide for Hardware Version
For most TOTOLINK adapter, you can see a bar coded stickers at the front of the device, the character string started with Model No.(for example N150UA) and ended with Hardware Version (for example V5.0) is the serial number of your device. See below:

STEP-2:
Open browser, enter www.totolink.net Download the required files.
For example, if your hardware version is V5.0 , please download V5 version.
Note: If the hardware version is V1, V1 will be hidden.

STEP-3: Unzip the file, click to install the driver.

STEP-4: Please waiting for a few seconds.

STEP-5: Click"Finish", the driver program is installed successfully.
This FAQ is suitable for: All TOTOLINK adapters. |
Application: The procedures in different systems are quite similar, therefore, here takes the procedures in Windows XP for example.
STEP-1:
Insert the Resource CD into your CD-ROM drive, the window (Figure 1) will appear. Please choose the model No. (Ex. A1000UA) from the drop-down list and click Install.

STEP-2:
Follow the instructions step-by-step to complete Installation.

